Create A Windows Server 2019 VM In Proxmox + New Virtual Network
This post will guide you on creating an isolated separate network in Proxmox and installing Windows Server 2019 VM attached to a new virtual network.
Create a new network
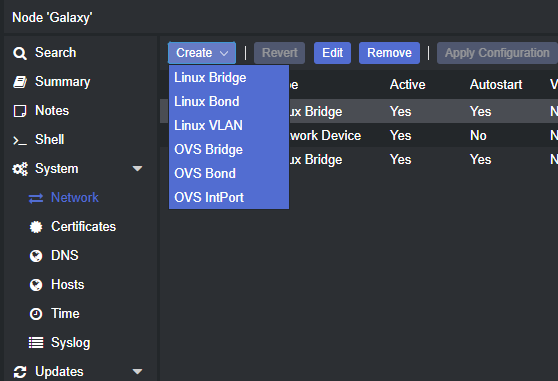
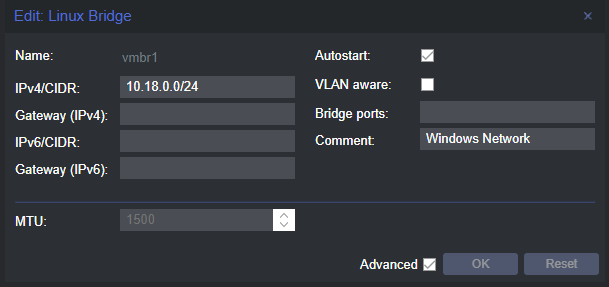
Create a new network in Proxmox by going to the Node -> Network -> Create Linux Bridge.
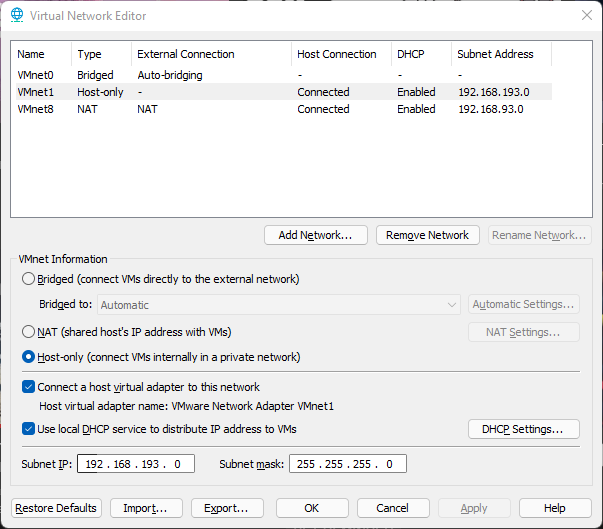
For VMware ESXi or Workstation, the settings should be "Host-Only". However, this post is about Proxmox.
I am still learning on VLAN with virtualization but I can't seem to make it work yet. All I know is that I need a virtual Layer 3 switch but I'm not a networking guy and this article is kinda hard to understand.
However, a Linux bridge is a layer 2 virtual device that on its own cannot receive or transmit anything unless I bind one or more real devices to it. So I treat it as a virtual L2 switch with an RJ45 cable and everything became easy to understand.
Installing Windows Server 2019 VM
VM Settings
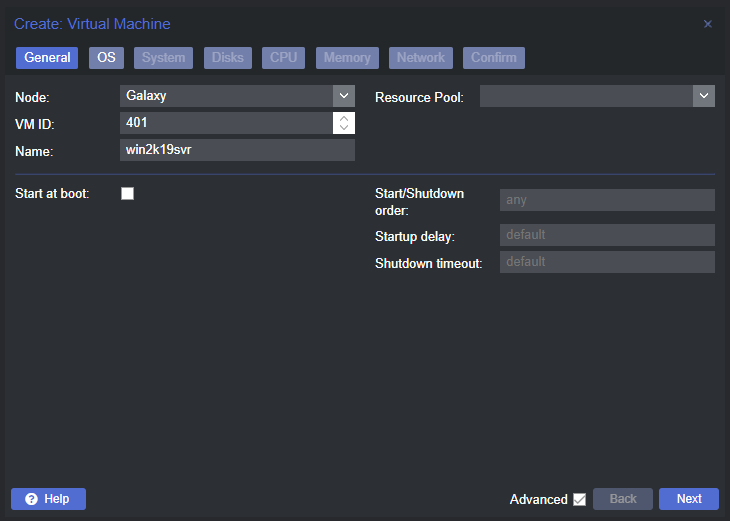
These are the setting I used for the Windows Server 2019 VM.
| Tab | Variable | Value |
|---|---|---|
| General | Name | win2k19svr |
| OS | Type | Microsoft Windows |
| OS | Version | 10/2016/2019 |
| System | SCSI Controller | VirtIO SCSI |
| System | Qemu Agent | Checked |
| Disk | Bus/Device | SCSI |
| DIsk | Disk Size (GB) | 64 |
| CPU | Socket | 1 |
| CPU | Cores | 3 |
| Memory | RAM (MB) | 2048 |
| Network | Bridge | vmbr1 (new bridge*) |
| Network | Model | VirtIO (paravirtualized) |
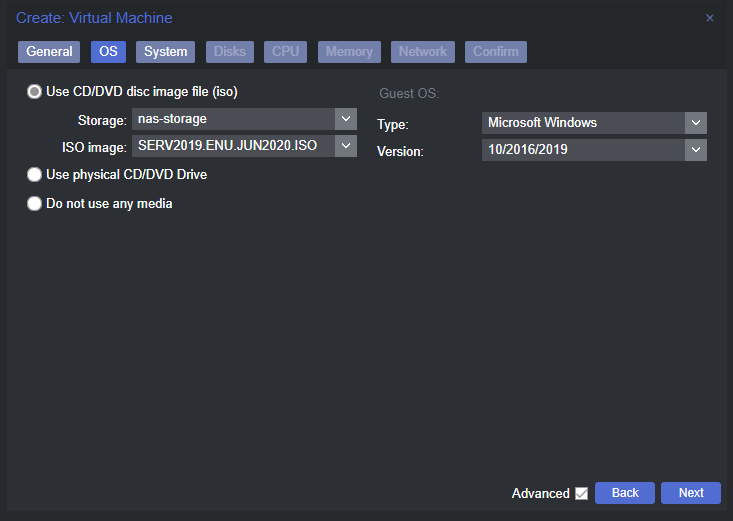
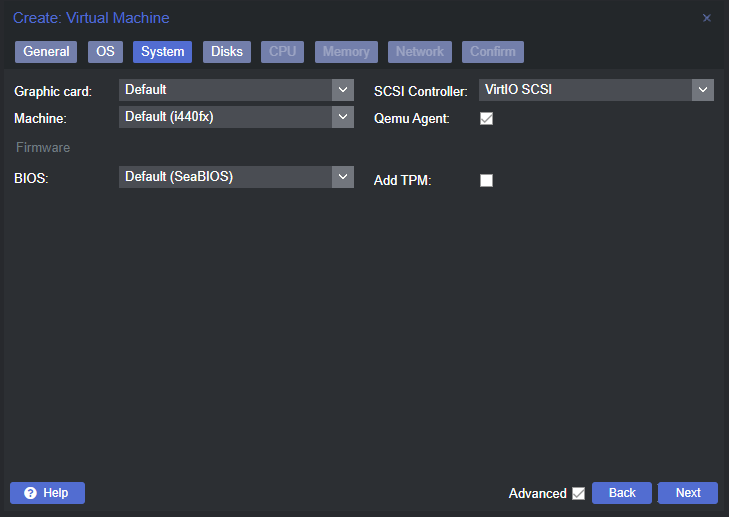
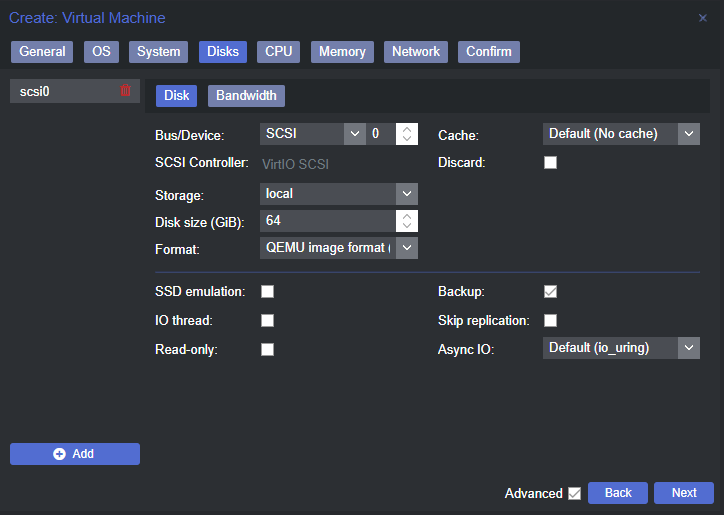
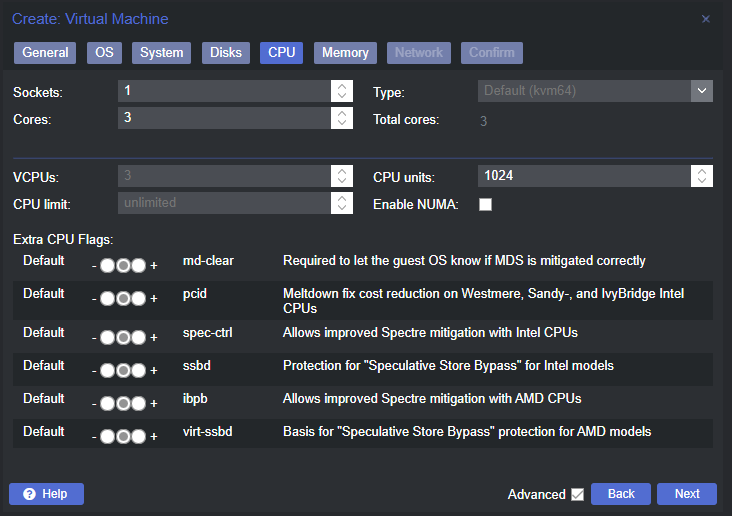
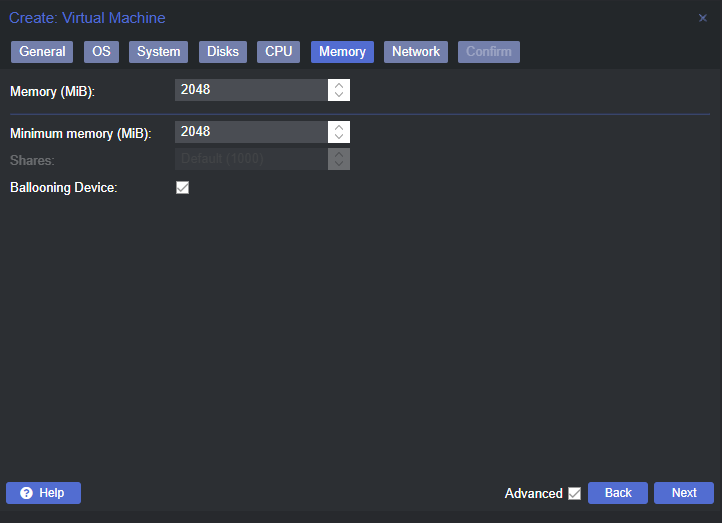
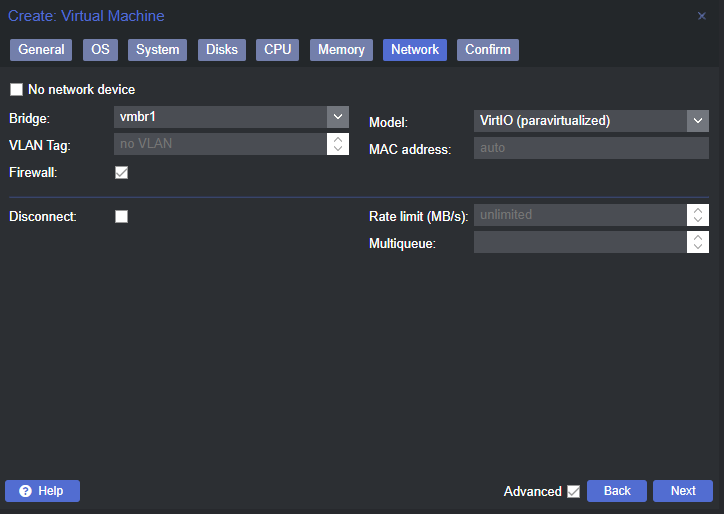
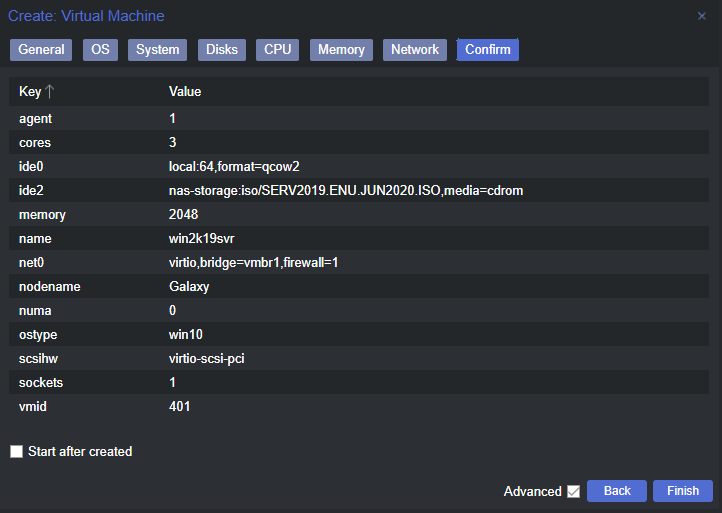
You will need to provide the drivers during installation. Go to the VirtIO Github page to download the iso driver for windows and attach another CD-Drive with the iso.

Boot up the VM. Select option 2 "Custom: Install Windows Only (advanced)" on this screen.

Missing storage drivers
Windows will not be able to detect your Virtual Disk. Select the "Load driver" option to install the driver.

Choose the correct version. Look at the path directory with 2k19.

Once the driver finishes installing, it will bring you back to the drive selection page. Select Drive 0 and click Next.

The Windows Setup will continue installing the Windows Server 2019.
CTRL + ALT + DELETE
To send Ctrl + Alt + Delete, you need to use the noVNC side panel at the left.

Installing VirtIO network, serial and ballooning drivers
Navigate to the Device Manager and install the missing drivers.

For the 3 missing drivers, browse D:\ and windows will install those drivers.

The VM will restart itself once you finish installing all 3 drivers. You may now remove the 2 ISO from the CD drives.
Now you can start tinkering with the VM. Do your backup/restore point so you won't have to go through the installation again.
You can check out my next post on promoting this server to a domain controller.
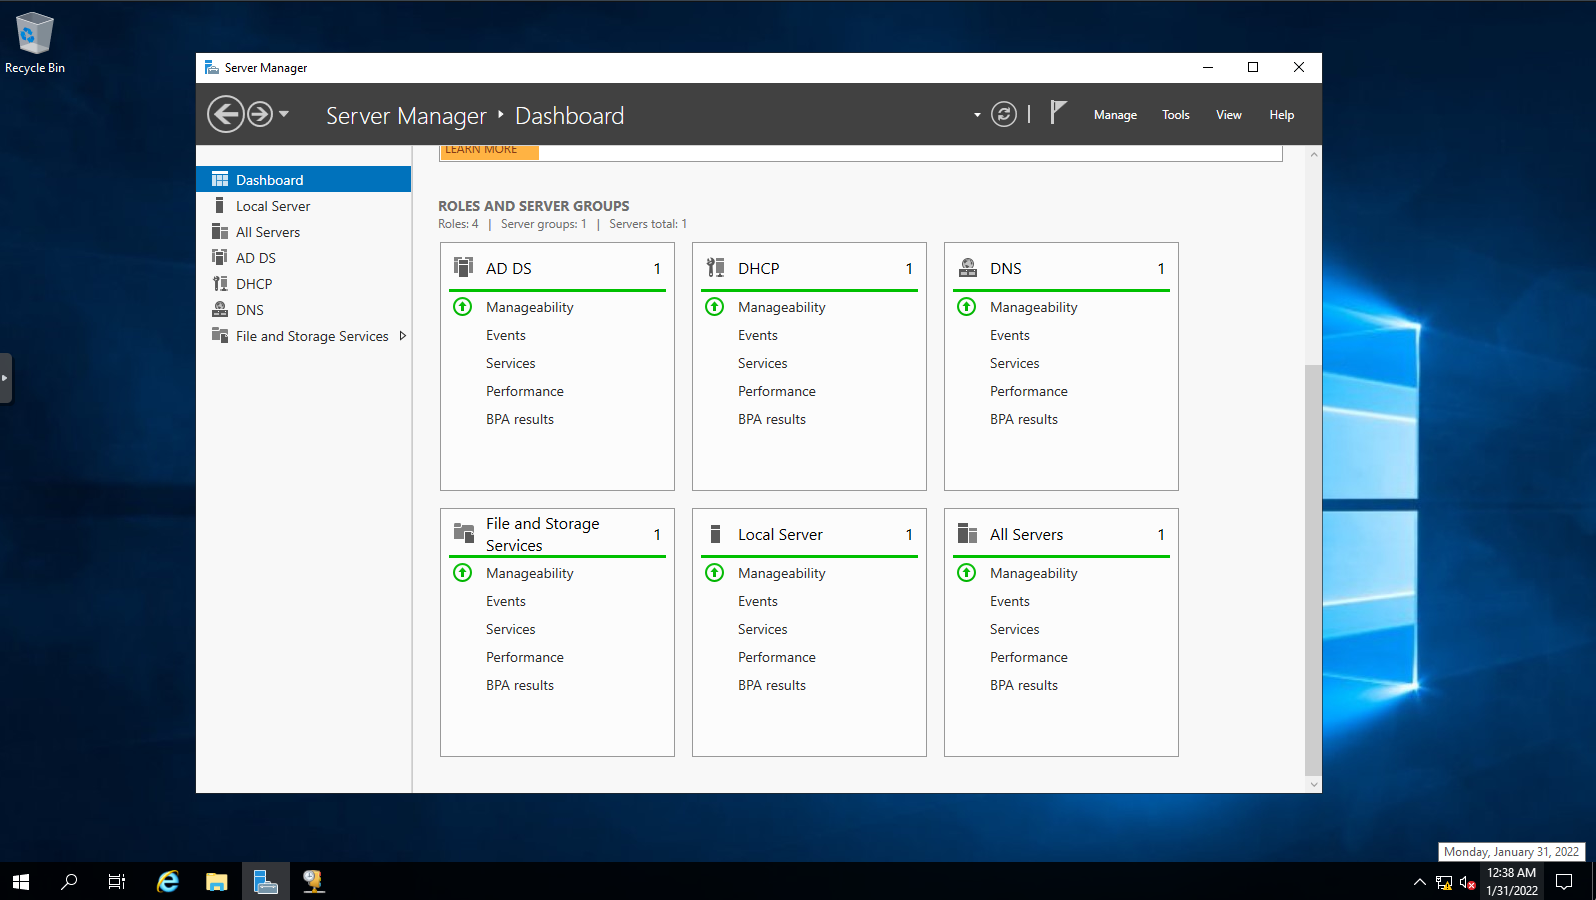
Have fun!
