Install Pimox, Type-1 Hypervisor, on Raspberry Pi 4 (ARM64)
Pimox is a port of Proxmox Virtual Environment, an open-source software server for virtualization management, to the Raspberry Pi allowing you to build a Proxmox cluster of Raspberry Pi's or even a hybrid cluster of Pis and x86/x86_64 hardware.
In this guide:
- Flashing Raspberry Pi OS 64bit
- Configure Pi
- Setting Up Pimox
- Running a LXC/LXD Container from Pimox
What you need:
- Raspberry Pi 4
- Raspberry Pi OS 64bit
- Ethernet (RJ45) Cable
- Static IP for Raspberry Pi
- Monitor and Keyboard (Initial Setup to enable SSH)
Flashing Raspberry Pi OS 64bit
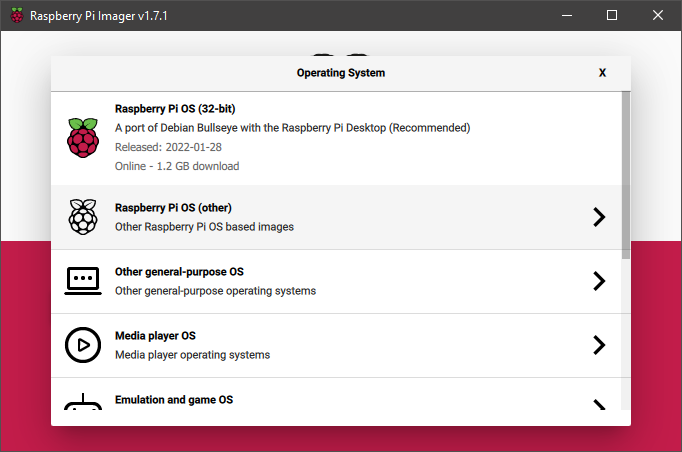
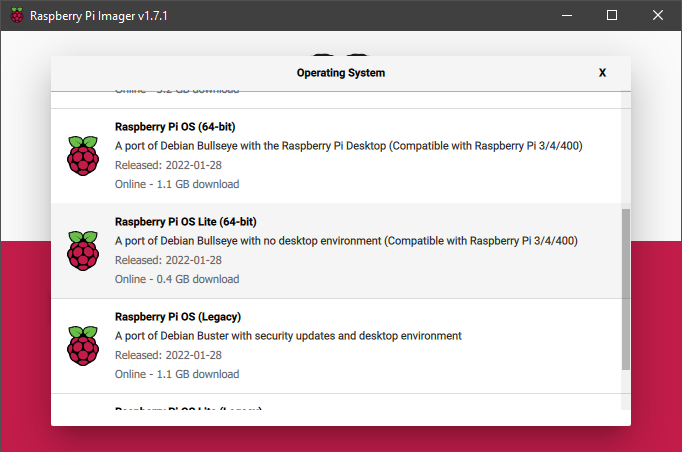
You can download the image from the Raspberry Pi download page and flash it to your SD card. Alternatively, you can use the Raspberry Pi Imager and flash the 64-bit Lite version.
Configure Pi
For first run, you need to attach a physical monitor and keyboard to configure your Pi. To make your Raspberry Pi running headless, you need to enable SSH during set up.
The default login for pi is shown below:
username: pi
password: raspberry
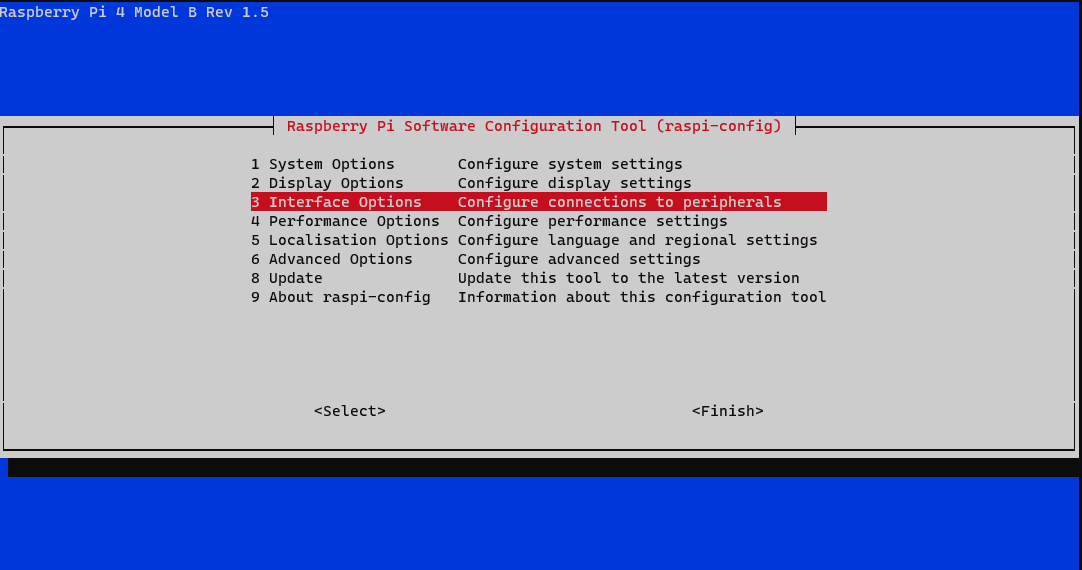
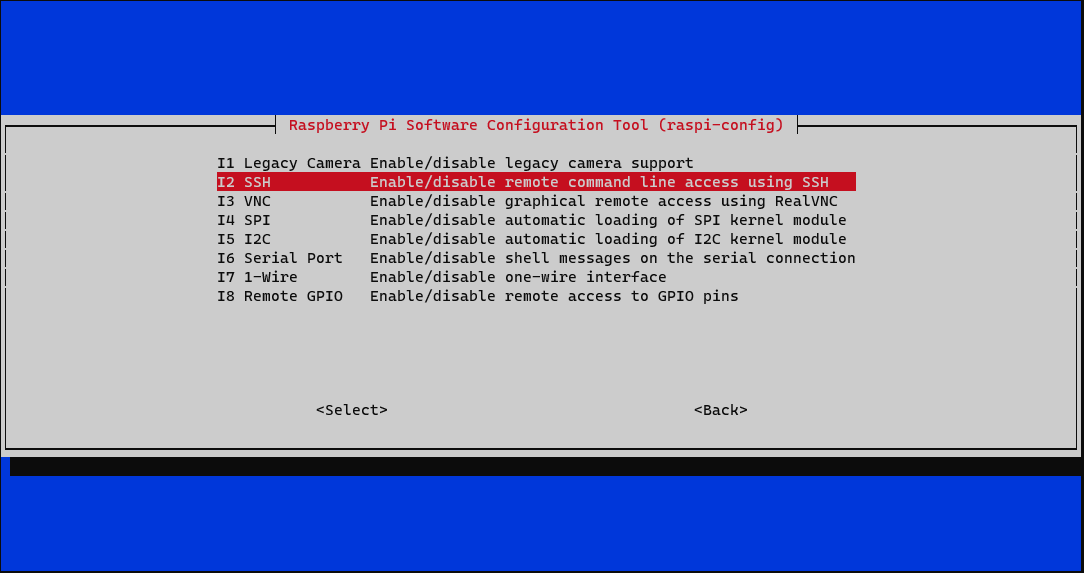
After you login, type sudo raspi-config to start the configuration tool and change your Pi password. To enable SSH, go to 3 Interface Options and 2 SSH from the menu.
Setting Up Pimox
From this point, you can either run them physically or remotely via SSH. For my own convenient, I will be running over SSH.
Installing Pimox
You can use the command below to run the interactive installer for Pimox.
sudo suapt update && apt upgrade -ycurl https://raw.githubusercontent.com/pimox/pimox7/master/RPiOS64-IA-Install.sh > RPiOS64-IA-Install.shchmod +x RPiOS64-IA-Install.sh./RPiOS64-IA-Install.shFollow the prompt. Once the installation started, it will take around 10-20 mins. Time to grab a coffee!
Access Pimox Web Interface
The default URL is https://[pimox ip]:8006. Enter root as your username and the root password to login.

The web interface is similar to the Proxmox VE. You will need to upload your .iso to the storage to install your VM. As of 13 march 2022, only aarch64/arm64 is confirmed to be working for VM and LXC/LXD containers.
Running a Container from Pimox
For LXC/LXD container, you need to upload your own container to the Pimox or use the "download from URL" feature in Pimox. Currently, the download template will download x86_64 containers and x86_64 will not work in Pimox.
Manually Upload a Container Image
You can access the list of LXD container images at https://us.lxd.images.canonical.com/images/or https://jenkins.linuxcontainers.org/view/Images/.
I will download Ubuntu 20.04 LTS arm64 lxd image from https://us.lxd.images.canonical.com/images/ubuntu/focal/arm64/cloud/. The image file to download is named root.tar.xz. Once you download to your PC, rename the file to a better name, such as ubuntu-20.04.tar.xz.
Once you rename the file, click the "Upload" button and select the file.
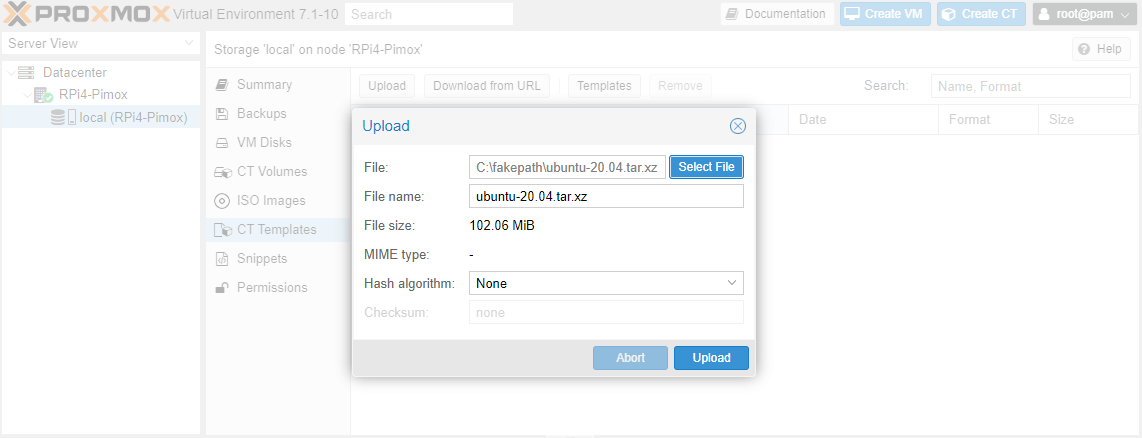
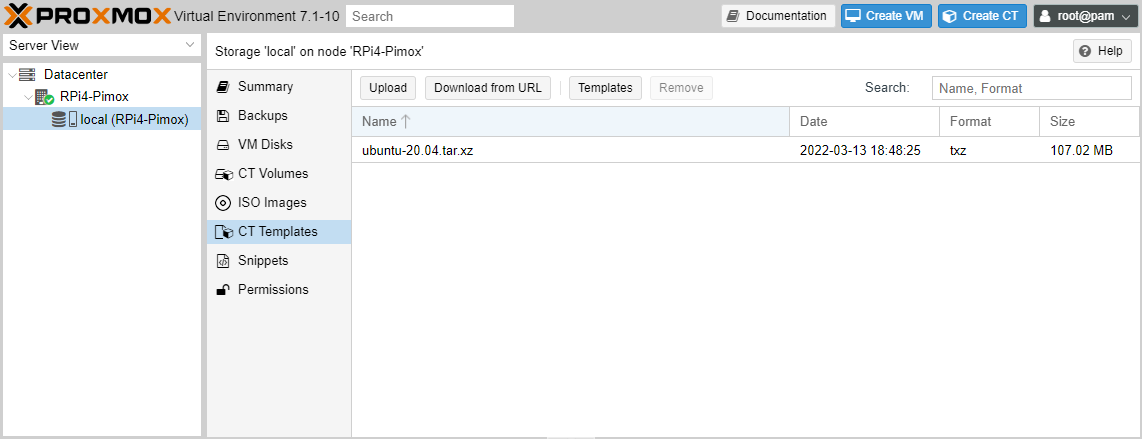
Alternatively, you can use the "download from URL" feature. However, you are unable to change the file name unless you go to the terminal and change the file as root in the /var/lib/vz/template/cache folder.
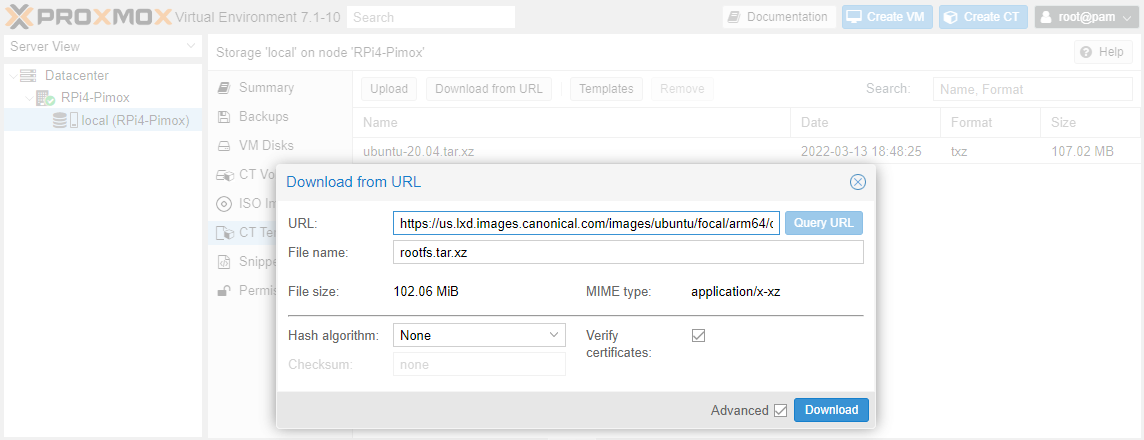
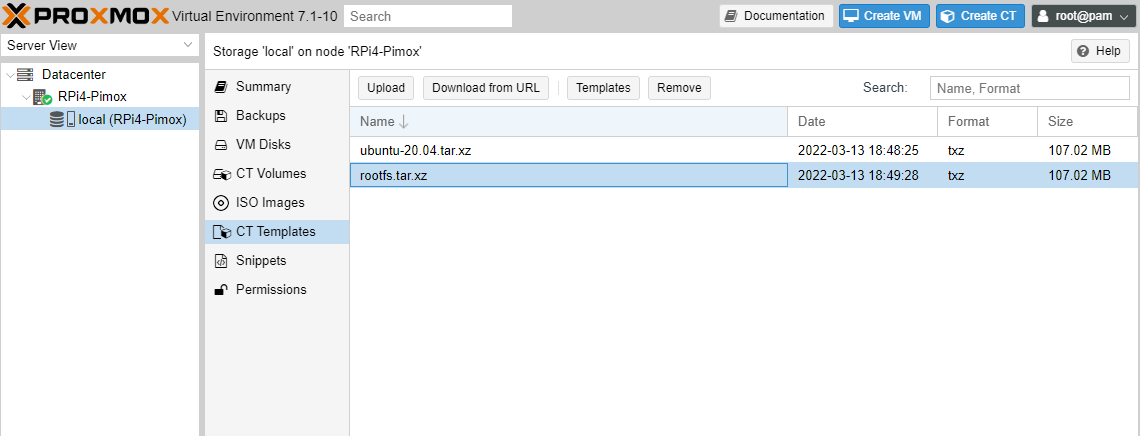
root.tar.xzSetting up the container
Setup the container by clicking the "Create CT" blue button at the top right of the page. Run the Create Tool as you normally would in any Promox VE. It will take around 40sec to 2mins to create a container, after all, this is a Raspberry Pi.

192.168.1.8/24Start the container
Start the container and go to the console tab.

192.168.1.8/24For Virtual Machine, you need to upload the arm64 image ISO and create the VM.

